I’ve been using a 2009 cheesegrater Mac Pro for quite a while now. I bought it used quite a while ago - around 2013 if I remember correctly - and it’s been serving as my main photo/video/general programming workhorse, although the latter tasks have been taken over mostly by a Linux machine housed in the infamous NZXT H1 case. It’s been upgraded a lot during its life - now has the latest 6 core Xeon these machines support including the upgrade to 2010 firmware, USB 3.0 ports, PCIe SATA cards to get SATA-3 and a PCIe NVMe card, plus a Mac-flashed AMD RX580. Nevertheless, it was showing more and more signs of getting long in tooth. Plus some of the software that I’m using really would like to use macOS 10.15, which this Mac Pro doesn’t support unless I effectively turn it into a Hackintosh. Combine that with distinct signs of the machine getting geriatric and I decided that I was time for a replacement. But what?
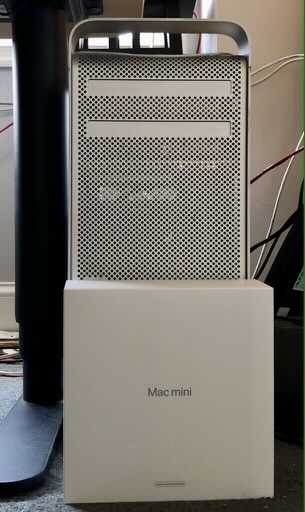
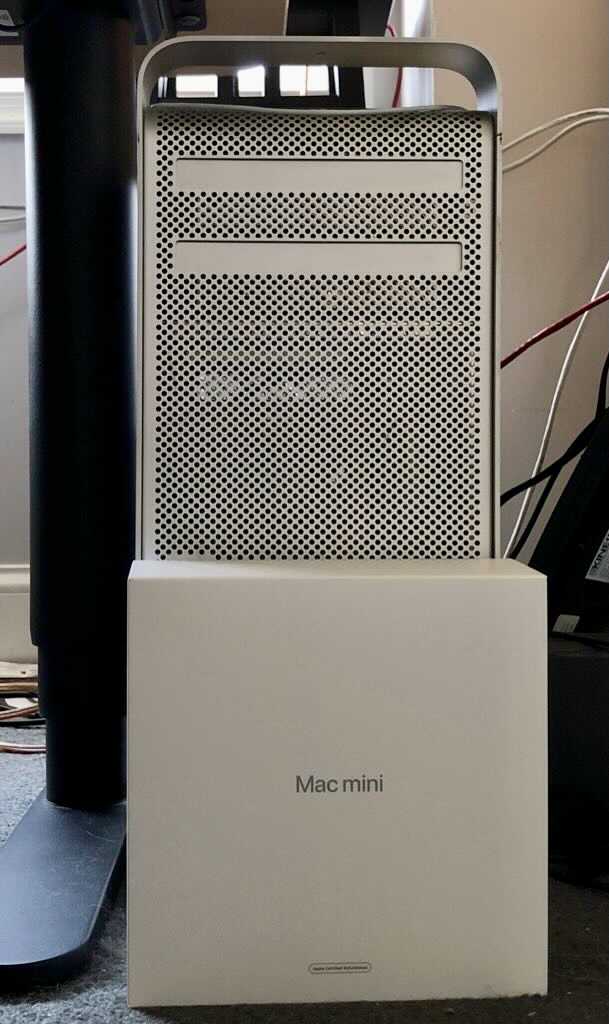
One of the reasons I really liked this old Mac Pro was that it was expandable. Newer ones would only be expandable if I either were to invest into a lot of Thunderbird 2/3 cables or spend nice used car money. The used car money wasn’t going to happen, so Thunderbird cables it was. I eventually settled on the M1 Mac Mini because I really liked the idea of having a completely silent computer. First attempts at purchasing one at CostCo didn’t go anywhere as they only had the 8GB RAM/256GB SSD models in stock (seriously? Who these days sells a machine with a 256GB SSD?), but eventually I managed to bag an almost top of the line one (16GB/2TB SSD) on Apple’s refurbished site. The only option this doesn’t have is the 10Gb networking which would’ve been very nice but I decided I could do without. And it’s a lot more compact than the box it replaces:

A small difference in size, even before unpacking
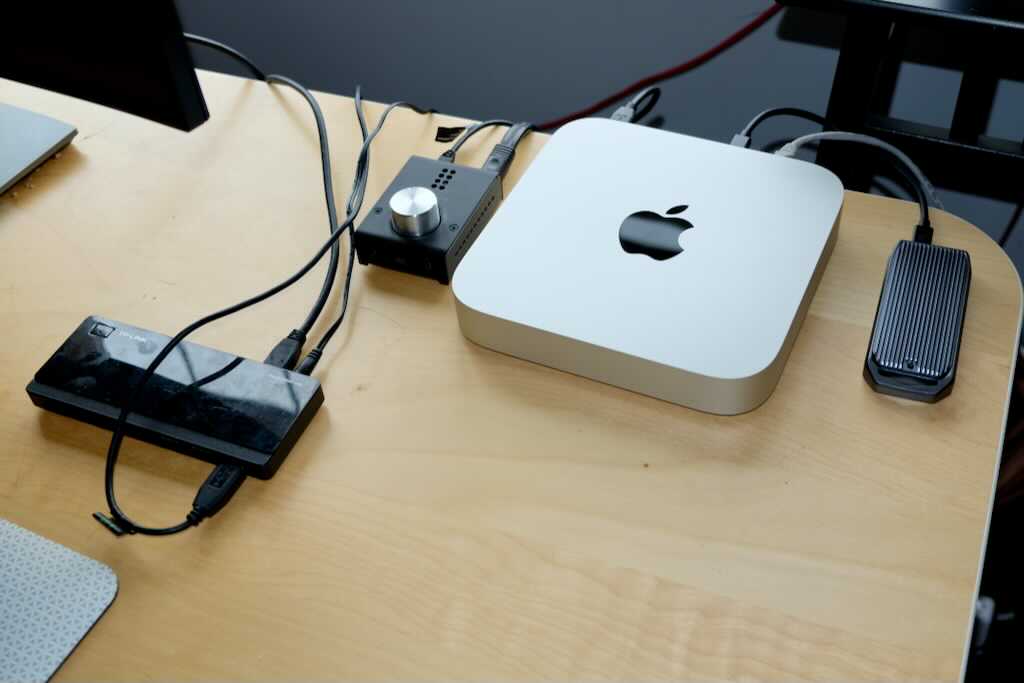
Hooking everything up lead to the expected but not desired amount of extra cabling, but it still sits nicely in the corner of my desk.

M1 Mac Mini plus peripherals
Setting up the new machine
As usual, Apple made that part easy - I used the migration assistant to move over to the Mac Mini from the Mac Pro. Fortunately the migration assistant only transferred the contents of the system disk, so it ended up a 2TB to 2TB SSD migration, which was reasonably fast. Not to mention that it pretty much worked out of the box, which made it a very pleasant experience.
Getting the details working
One of the main time sinks in this migration was to get most of the software reinstalled, plus getting the contents of a second data disk transferred to an external disk I could hook up to the Mac Mini. The latter was the really easy part, I uploaded the contents of that drive to my home server from the Mac Pro, shut the Mac Pro down and pulled the NVMe SSD that served as one of the system drives. The SSD went into a Thunderbolt 3 enclosure, got hooked up to the Mac Mini and reformatted, before I copied over the data from the server. So far, so easy. Of course the copy operation was slowed down a bit by the gigabit networking connection (my server has a 10Gb/s network connection), but in the end it wasn’t that big a deal.
Getting homebrew working again
I am trying to go as far as possible with this Mac using native ARM64 binaries and of course the whole contents of the Homebrew library that was installed on the old Mac Pro was Intel-only. That unfortunately included the ruby binary packaged with the brew executable. Not wanting to install Rosetta yet, I managed to get that version of homebrew working with a hack - I replaced the ruby binary that was bundled with the Intel homebrew with a symlink to macOS Big Sur’s built in ARM ruby. Fortunately they are the same version. This allowed me to get the commands working that I needed - mostly ’list’ and ‘uninstall’.
Next step was to reinstall Homebrew - the ARM homebrew uses a different path (/opt/homebrew instead of /usr/local/Homebrew) so the two can coexist. Then it was simply a matter of deciding which packages I needed to reinstall as ARM packages and uninstall the Intel versions. This pretty much all worked flawlessly, albeit with some manual cleaning up of packages that displayed messages that they wouldn’t delete certain files or directories. This was relatively easy, just a time sink as I was doing the work manually and had to make sure to tap the correct casks. With hindsight, I probably should’ve scripted this up, but on the other hand this allowed me to clean up my homebrew install a bit and get rid of some of the cruft that I’ll always seem to accumulate on my machines.
The usual faff with Time Machine on Samba
Which left the last fun part that I dread every time I get a new/used Mac - getting the Time Machine backup working with my Samba server. I had high hopes this time as I had finally managed to get the vfs:fruit plugin incantations to the point where macOS would even create new backup disks on the server and everything just worked. Well, it all worked until I tried to create a new backup using macOS 11.5 aka Big Sur.
The good news was that this time, Time Machine managed to create the backup sparsebundle as expected. The bad news was that every time it tried to use the sparsebundle, it would complain that the disk had become unavailable during the disk validation phase of the backup process. Which was a tad odd, especially as this sparsebundle was essentially empty. Consulting Google didn’t bring much joy, other than the information that I was not the first or only person running into this issue. Eventually, I came across a post on some NAS discussion that suggested this could be an issue with Big Sur creating Time Machine sparsebundles using APFS. That indeed seemed to be the issue - once I manually created an HFS+ formatted sparsebundle like I used to have to in The Olden Days, backups magically started working. Oh well, at least I have working backups again.
This was probably the most annoying part of the setup and I was sorely tempted to switch to ARQ backup. I do have a license for ARQ as that’s what I use to back up my Windows machine, and I may still switch over. The main reason I tried to keep using Time Machine is because it makes it a lot easier to move between machines. Although given how long I tend to keep hardware, this may not be something that should have the sort of weight I may have given it.
First impressions
Well, other than having an even bigger cable jungle on my desk - external drive, external DAC/headphone amp and a USB 3.0 hub - I’m happy with having more space on and around my desk again. That’s always good. Also, not having a fan going no matter what the load on the machine is is very nice.
Performance seems to be very, very good. I haven’t done much testing and especially not much video editing on this yet, but my quick test (building a personal Jekyll blog) shows a massive improvement. That particular blog has a lot more photos that this blog, and they need resizing on a full build. Using Jekyll rather than Hugo like for this blog, it took over 4 minutes to build on the old Mac Pro. My Linux PC - which isn’t exactly a slouch, running a Zen 2 AMD Ryzen 9 - 3950 and all NVMe disks - takes about two minutes to do a full rebuild on Manjaro Linux. My server (a base spec Dell T630) builds the blog in about 160 seconds.
The Mac Mini does a full build of this blog takes 47 seconds. While staying completely silent, too. And yes, I tried rebuilding that blog a couple times just to make sure.
I’ve not got around to editing video on the M1 - that was one of the tasks the Mac Pro really started struggling with, so it’ll be interesting to see if the little box of tricks really can improve that experience as much as it did the other experiences.
Was it a good idea?
Well, we’ll know over time. The usual rumour mills around Apple suggest that I probably should’ve waited a tad as there are supposed to be new processors just one announcement away. OTOH those new processors have supposed to be “around the corner” for a while now, and it was time to make a decision. So far I’m happy with the decision, and I’ll report back once I had a chance to edit some videos.
